How to take a Vital Signs observation
Below is a step-by-step guide on how to take a Vital Signs observation using Oxevision.
Step 1: Select a room tile.
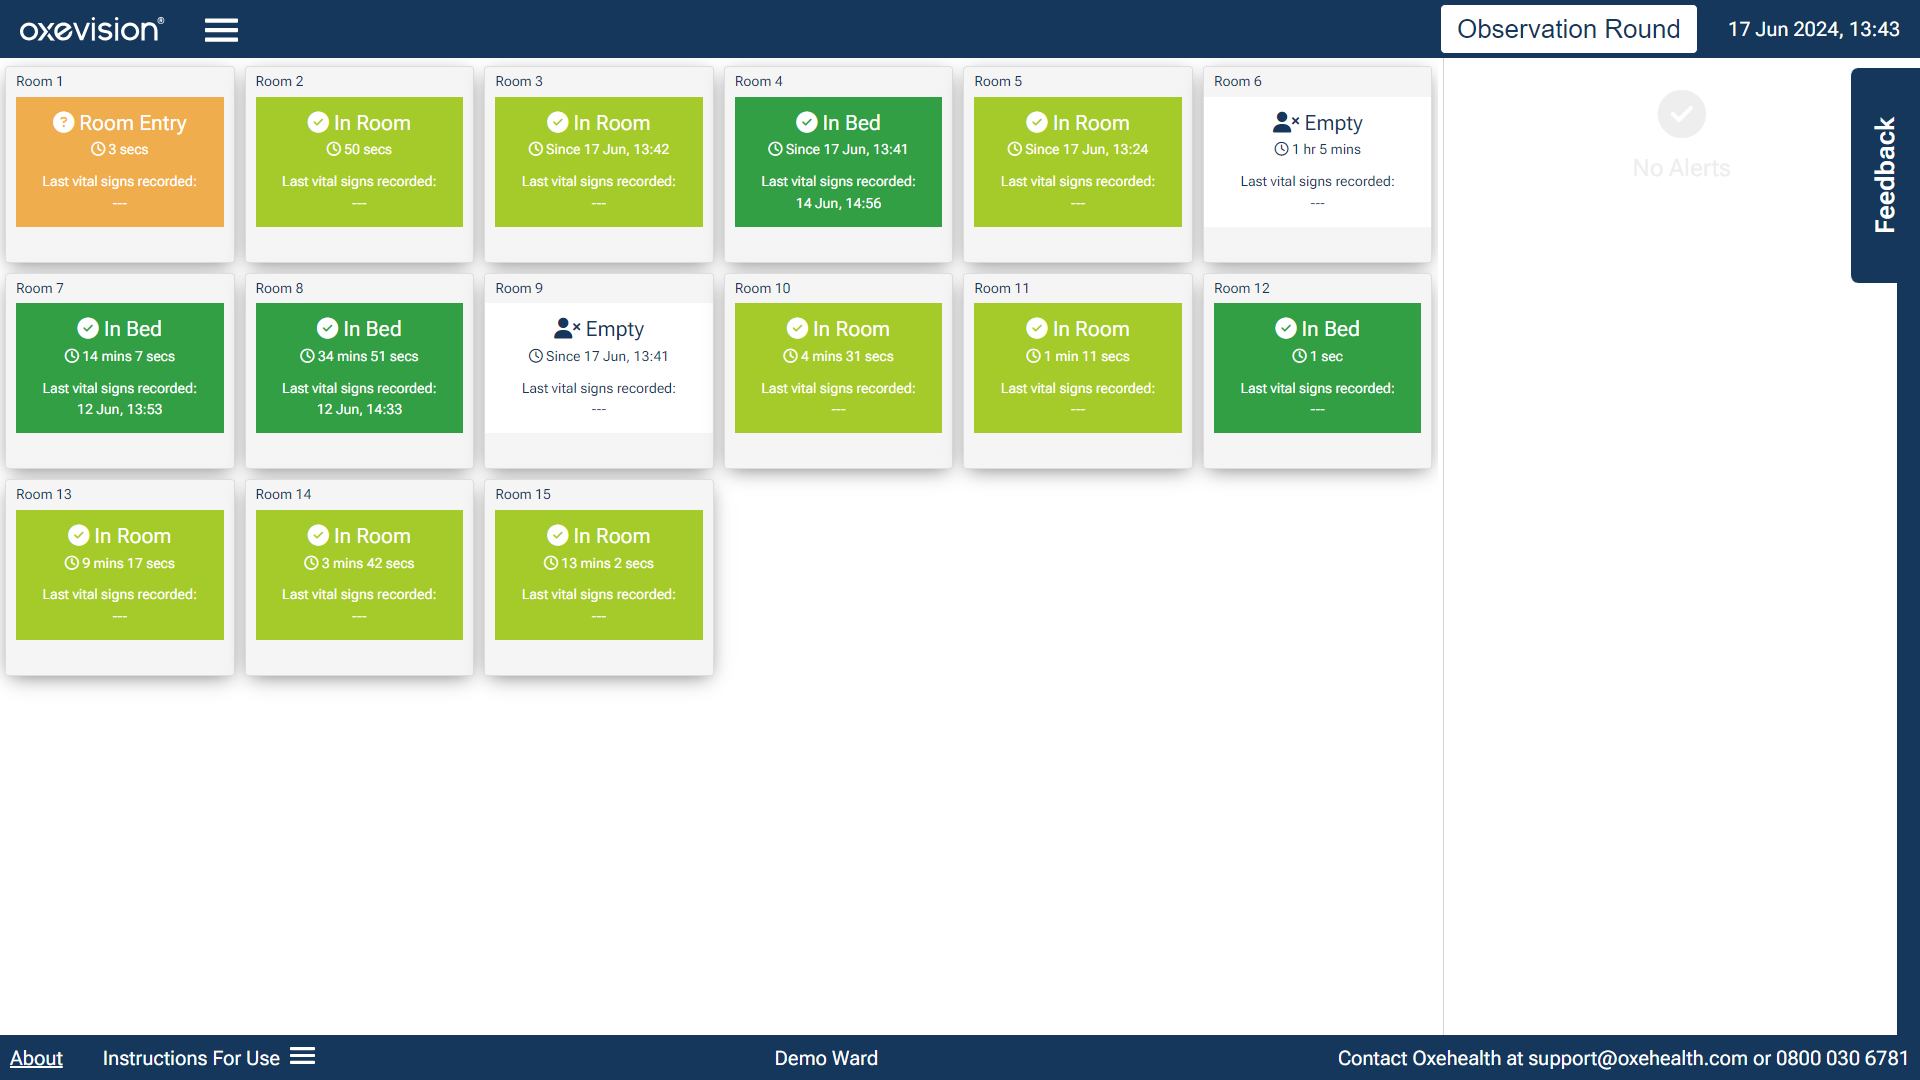
IMPORTANT: Remember to follow any particular policies your organisation may have in place regarding when to use Vital Signs. Please also remember that taking vital signs observations using Oxevision Vital Signs is only applicable to single occupancy rooms, if there is more than one occupant in a person's room, you should proceed with other means to establish patient safety and to take vital signs observations.
Step 2: Select "Take Vital Signs" on the Room Actions screen
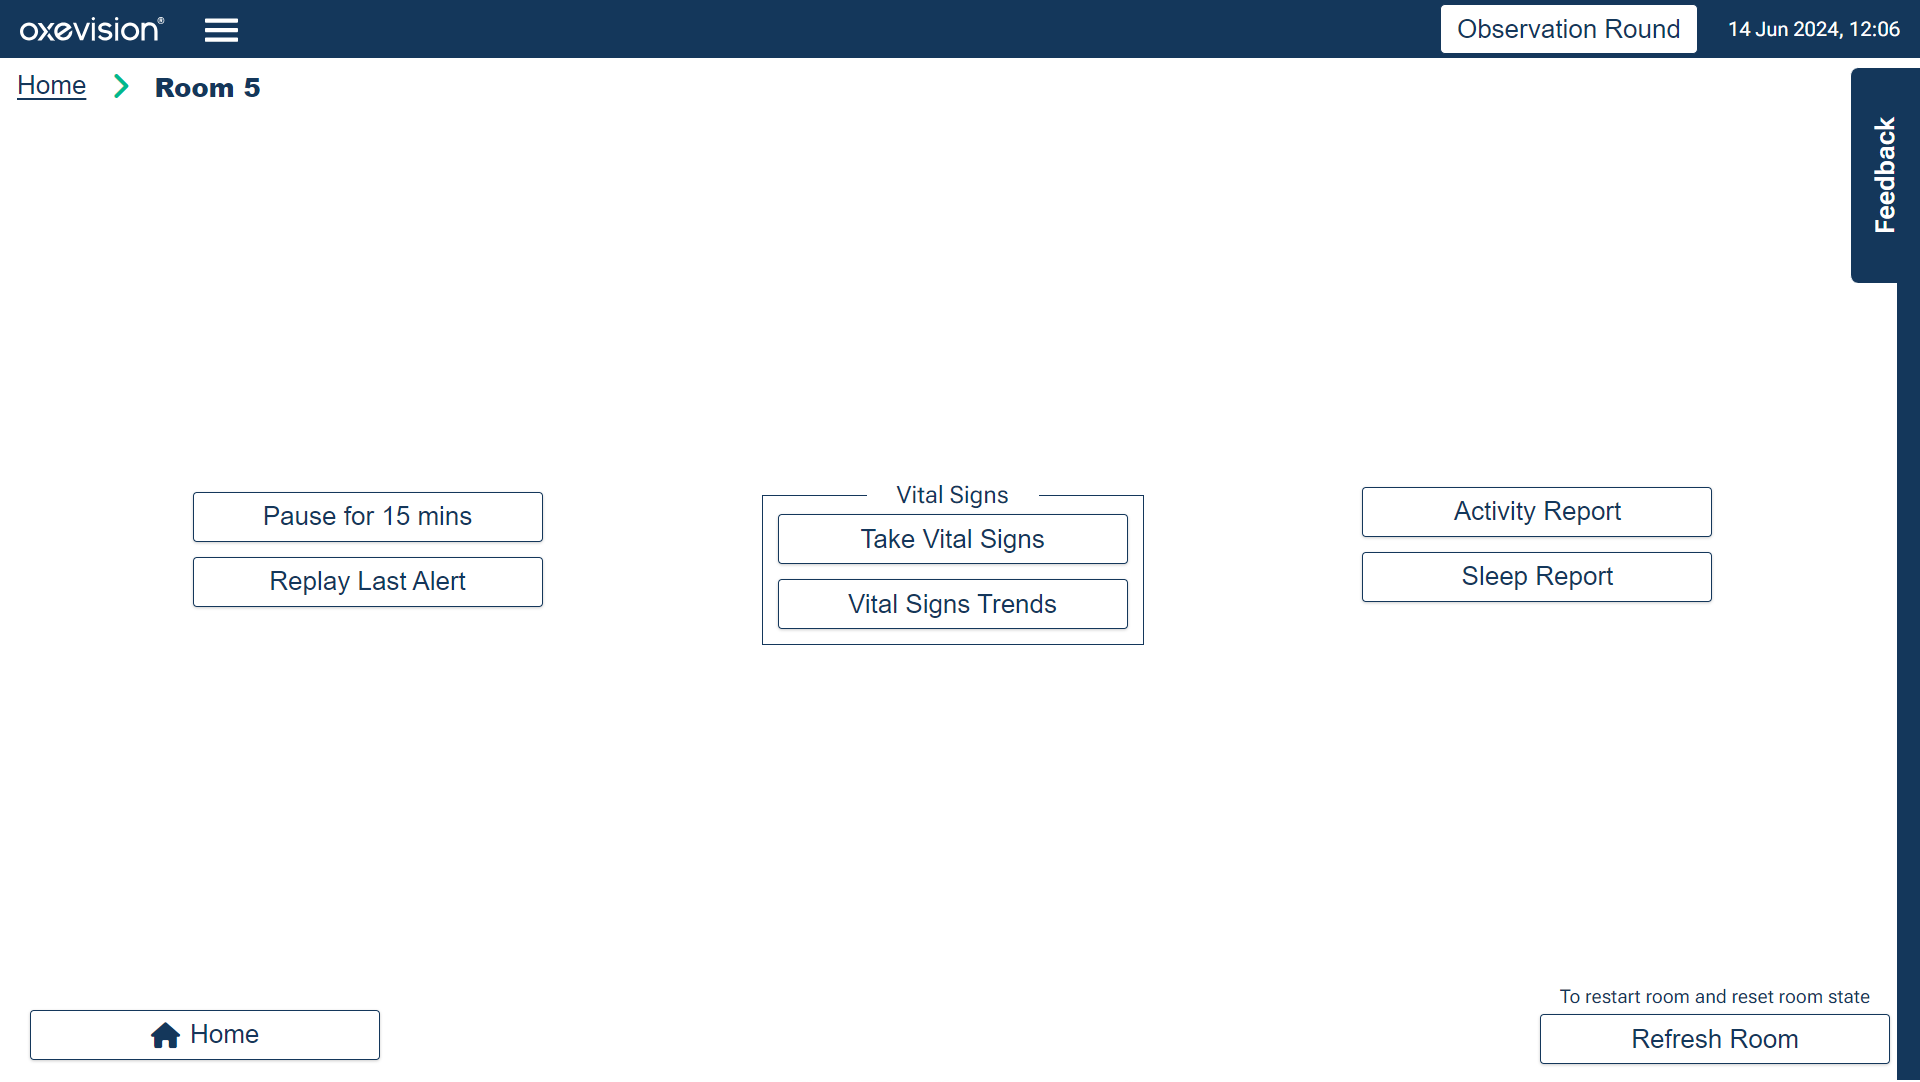
By selecting "Take Vital Signs", you are entering the Vital Signs software medical device.1
Step 3: Check if the patient is still and click "Yes". If not, select "Cancel"

The patient must be still to get a reliable reading. If unsure, do not proceed.
IMPORTANT: If the Oxehealth Vital Signs software is not able to make any vital signs estimations at the current time or the subject is not still, the "Yes" button will indicate "Acquiring Vitals". If vital signs cannot be acquired by the system within 15 seconds then you must select “Home” to return to the Room Overview screen or “Done” to return to the Room Actions menu. If this occurs, proceed with other means to establish patient safety and to take vital signs observations.

Step 4: Check if there are blobs that are not touching the body. If all blobs appear on the body, select the blue "No" button. If any of the blobs are not touching the body, select the grey "Yes" button which will return you to the Room Actions screen

The blobs must be on the body to get a reliable reading.
IMPORTANT: There can be one or two blobs on the screen, either is normal. As long as all blobs are touching the body you can proceed with the workflow.

Can staff still take vital signs observation when the patient is covered up, e.g. with a blanket?
Yes, provided the patient is suitably still, then staff may proceed with caution if they consider all of the visible blobs to be on the body of the subject. Just be confident that only the patient is under the sheet and no other living things or moving objects.
Step 5: Record the Vital Signs measurements

IMPORTANT: If your device continues to have good wifi connectivity after taking a patient’s vital signs, you will see a “Vitals Saved!” message on the screen (as shown above). This means that the pulse and breathing rate have been saved automatically and will be visible on the relevant Vital Signs Trends chart within the system. If this appears, simply select “Done”.
However, if your wifi connectivity drops, Oxevision will try and resave the pulse and breathing rate, and display a “Please wait…” message:

If the device continues to have insufficient wifi connectivity, the system will try to resave for 10 seconds. Following this 10-second period, if the vital signs observation has failed to save again, the “Vital Signs Failed to Submit” message will be shown and a “Retry” button will appear:

It is recommended for you to move into an area with good wifi connectivity before selecting “Retry”. You can choose to exit the “Take Vital Signs” screen by selecting “Home” or “Done” but please note that the vital signs you have just taken will not be recorded in the relevant Vital Signs Trends chart. If you are about to exit before vital signs have been saved you will see the following warning message:

All successfully saved vital signs observations will be available to view on the Oxevision Vital Signs Trends chart. For more information, please refer to the "How to view Vital Signs Trends" module.
An electronic copy of the Instructions for Use and device labelling are available at the top of the Room Overview screen or on OxeAcademy. These detail how to use and care for the system. This "how to" guide does not replace the Instructions for Use; if you are unsure of anything, please re-read the Instructions for Use or ask your Oxehealth Ward Lead.
You must be trained to use the system. Your Oxehealth Ward Lead can arrange this for you – or ask your manager.
Footnotes:
1 The Vital Signs software is registered as a class IIa medical device in the UK & Europe. It is intended for non-invasive spot measurements of pulse rate (50 to 130 ± 3 beats per minute) and estimated breathing rate (8 to 39 ± 2 breaths per minute). It does not provide alerting or alarms for vital signs. The Vital Signs Trends chart is a feature within the Vital Signs software which shows a summary of average vital signs to inform decisions to take further vital signs spot check measurements or check on patients and cannot be used to measure or monitor pulse rate or breathing rate. It is a fixed-installed solution for use within single occupancy rooms within hospitals, general care, and secured environments where a framework exists which mandates periodic checks by a trained professional to ensure subject safety. See Instructions for Use for intended use, contraindications, warnings, cautions, usage directions and maintenance.
Up next

